Friday, February 25, 2011

Cranberry Salsa Recipe

I haven't shared many recipes but I'm so excited about this one I had to spread the joy.

I am blessed to be a part of an amazing group of women who meet every Thursday evening for dinner, Bible study, and accountability. Between the 20 of us, there are some amazing dishes brought each week. A few weeks back (at our super fun baked potato bar), my friend Bethany laid out an amazing spread of chips and cranberry salsa. I was apprehensive at first but after one bite I was pretty much glued to that spot on the table, guarding my newly discovered, ruby treasure.

I found a similar recipe online and made a batch of the salsa for a small Super Bowel party we had the next weekend. I was not able to find fresh or frozen cranberries and attempted the deliciousness with a canned version. Though it was still delicious, it was a bit too sweet (the canned fruit has a fructose additive). I can't wait to make it again with fresh or frozen berries and really party with my taste buds...

Last Thursday night Bethany gave me a super cute recipe card with her version of the cranberry salsa.

Enjoy:

Bethany's Cranberry Salsa

1 bag of cranberries
2/3 c. sugar
1 1/2 limes for juice
1 bunch of green onions
1 bunch of cilantro
2 jalapeƱos (more or less depending on how much spice your craving- seeds optional as well)

In food processor, blend cranberries and place them into a mixing bowl. Add sugar, lime juice, and chopped green onions to cranberry puree. Place cilantro and jalapeƱos in food processor and chop. Add mixture to cranberry mix and stir well. Allow to chill in fridge for at least 2 hours before serving.

-Here is an added bonus-

Before placing the salsa in the fridge, poke holes into the top of a block of cream cheese and pour the salsa over the top. Place this into the fridge for a couple of hours to allow the salsa to seep into the cheese. Serve with Ritz crackers and tortilla chips.

Thanks Bethany for the amazing recipe!!

Tuesday, February 22, 2011

Etsy Favorites

The "world of girl" is such fun. As we prep for the next big project of putting together baby Jane's nursery, I can't help but scour the world wide web looking for all things pink and floral and vintage and poofy.

Etsy is a favorite shopping spot (if nothing else, it provides amazing inspiration and motivation). Here are some of my recent finds:


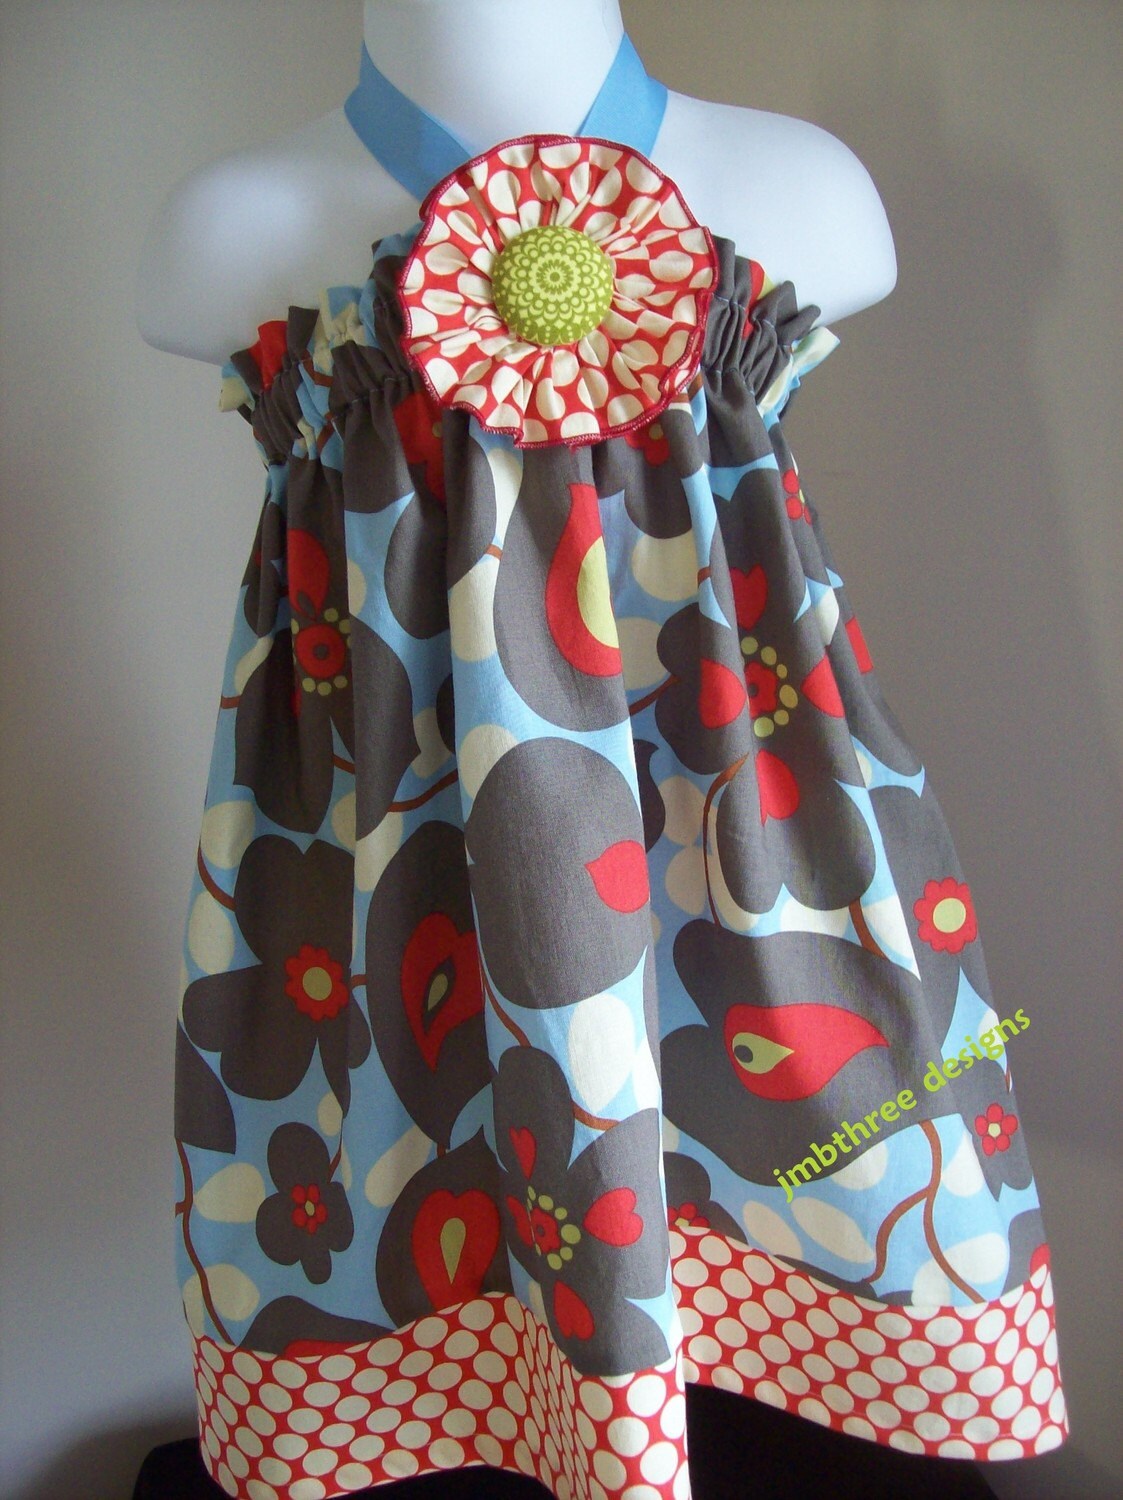
Anything made with Amy Butler fabric is a winner...
From JMBthreedesigns's Etsy shop

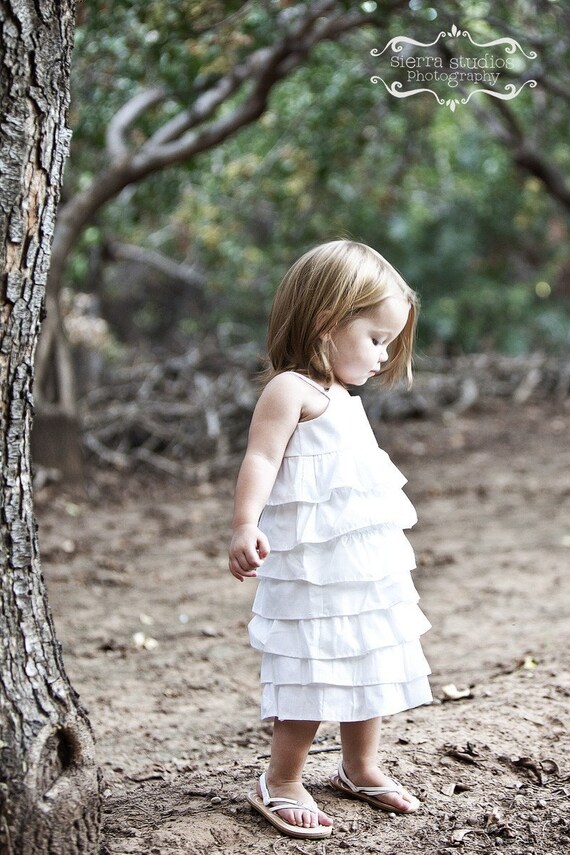
Just plain cute...
From Bonniebluebelle's Etsy shop


I can't get over the rufflidge. I'll take one in every color!!!
From Dressbabybeautiful's Etsy shop
Along with perusing the clothes and accessories, I have begun the ominous diaper bag search. With Sawyer, Tim and I decided to go with a gender neutral messenger bag so that both he and I could get away with carrying it (and he could maintain his man dignity). I loved our bag and it has held up quite well but now that there is a girl on the way, I am craving a more feminine piece. This beauty has caught my eye:
From Kolobags
The search continues...We are definitely getting excited about our little lady!!

Wednesday, February 16, 2011

The DIY Show Off: More Than Rubies featured post!!!

I am so excited! Our closet/office re-model was the daily DIY feature at The DIY Show Off. A HUGE thanks to Roeshel for the blog spot!


As I was trying to explain the thrill to my husband, all I could think of was equating it to that feeling of pride a child gets when their teacher chooses their piece of art to hang on the wall.

Call me dramatic but its one of my first times being "featured" and I can't help but be a bit giddy...

Be sure to check out Roeshel's blog and the plethora of inspiring DIY ideas she boasts!

Monday, February 14, 2011

Closet/Office Re-model

I have been itching to blog about our weekend project...well...all weekend! As we begin to prepare for our little baby Jane, we have encountered a few obstacles. First, the room we intend to use as the nursery has been our office/craft room/"don't know what to do with it" room since we moved into the house in August. Our first solution was to move the office into our bedroom and find storage space for my crafting supplies in one of the hall closets. The plan was to find a medium to large hutch type piece of furniture and convert it to our office space. I had found a few pieces I liked but they ranged from the low $300's to the high $700's and that just wasn't in the budget. Even if we were able to find an affordable hutch, I wasn't super excited about having to move the office into our room. We brainstormed a bit and came up with a Plan B: turn the guest room closet into our office! We did some research online and found great inspiration...

From blisstree.com

from dwellerswithoutdecorators
Our first step was to clean out the closet:

Second step was to re-vamp our old computer desk (which I bought at Goodwill years ago):


Tim bought a 7ft piece of plywood which we used to extend the desk top to fill the closet.


Then came the sanding, priming, and painting.


After getting the painted desk and desktop into the closet, we added some side shelving for additional storage...


As a finishing touch, we ran a piece of molding across the front of the desk so that the plywood addition wasn't so obvious. It worked out perfectly!


I LOVE IT!!!


The total cost of our closet re-model was about $100 dollars. So much more cost effective than trying to find and fix up a large hutch or looking into custom shelving options for our room. I am thrilled with how it all turned out and so thankful I married a man who can turn my ideas into reality. He even re-wired the electrical socket in the room so that we can plug-in the computer and printer from the inside of the closet!

The final step is to find fun curtains to hang over the front. I'm seeing an Ikea trip in the near future...

The most exciting part of the project is now that we have moved the office and craft supplies out of the soon-to-be nursery, we can really get going on prepping for the baby! Pink paint samples, here I come!!

Wednesday, February 9, 2011

It's a girl!!

In case you hadn't heard, we're having a girl!!! We are thrilled and I can't stop dreaming in pink and tulle. Girl clothes and accessories are just more fun than boy stuff. As I've begun to seek out inspiration for the baby's nursery, I have come across some fantastic ideas:

Lemon Tree Creations (a favorite blog) is hosting a giveaway this week and I am in love with the pack of vintage nursery rhyme cards from Pretty Little Studio's Etsy store:

Can't you just picture them framed and hanging in a little girl's room? So cute. 

I'm also obsessed with Micheal Miller's Meadowsweet fabric collection:


This reminds me of old Disney movie artwork...not sure what it is. 

Decorating a little girl nursery is pretty much all I think about these days. The options are endless!! Can't wait to see how it all turns out! 

Sunday, February 6, 2011

Valentine's Project

So I finally had a bit of extra time for a little DIY project. Super easy, super quick, super cheap. The best kind of project.

I LOVE the blog Lemon Tree Creations and when I saw their 30 minute Valentine wreath I was inspired. Here is how mine turned out:


This is definitely an idea that could be used for multiple holidays and seasons. Oh the possibilities...